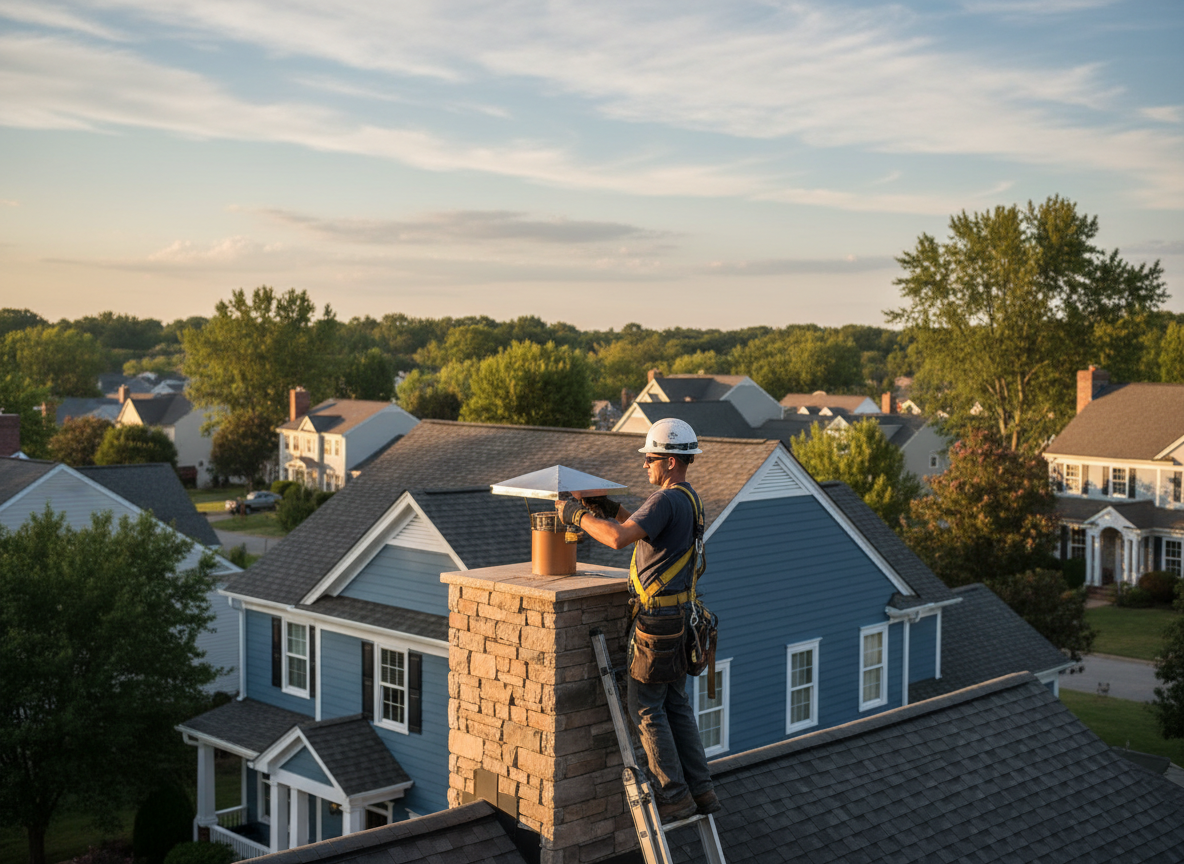
Centerville homes built from the 1960s through the 1980s in neighborhoods such as Yankee Trace and near the Washington Township border often feature masonry chimneys that suffer from repeated freeze-thaw cycles. These cycles crack flue tiles and allow water to enter the attic or masonry. A properly sized stainless steel or copper chimney cap with a spark arrestor and rain diverter stops direct rainfall while still permitting adequate exhaust flow. Installation requires measuring the flue opening, confirming the crown condition, and securing the cap with rust-resistant fasteners that withstand high winds common along the Great Miami River valley.
Edge cases arise when chimneys have been previously patched with incompatible mortar or when multiple flues share a single chase. In these situations the cap must be custom fabricated to avoid restricting draft on the secondary flue. Local building practices in Montgomery County expect the cap to sit at least four inches above the crown and to include a mesh sized to block common local wildlife such as starlings and raccoons. Skipping the proper height or mesh size leads to repeated service calls during spring rains.
Homeowners frequently overlook the flashing interface between the cap and the crown. Over time, Ohio’s heavy spring downpours drive water under poorly seated caps and into the brickwork, accelerating spalling. Axis Wrench checks the crown slope and applies a compatible sealant only after confirming the masonry is dry. This step prevents trapped moisture that would otherwise cause interior staining during the next freeze cycle.
Technician insight
In Centerville, the thing that catches most people out with chimney cap installation is the age of the brickwork in neighborhoods built before the mid-1980s. Freeze-thaw cycles along the river valley loosen mortar at the crown, so a standard off-the-shelf cap often sits uneven and lets water in unless the crown is first leveled.
Water Stains After Spring Storms
A Centerville homeowner reported ceiling stains near the fireplace after heavy April rains. Inspection showed the existing cap had rusted through and sat below the crown line on a 1970s masonry chimney. The crew removed the damaged cap, leveled the crown, and installed a custom-fitted stainless cap with extended flashing. No further water entry occurred during the following winter.
How it works
- 1
Site Assessment
Measure flue dimensions, inspect crown condition, and note any shared flues or prior repairs on the Centerville chimney.
- 2
Cap Selection
Choose stainless steel or copper material sized for local wind loads and fitted with spark arrestor mesh appropriate for Ohio wildlife.
- 3
Secure Mounting
Anchor the cap with corrosion-resistant hardware and verify clearance above the crown to maintain draft.
- 4
Final Inspection
Confirm water diversion, test draft, and verify no restriction on exhaust flow before leaving the property.
Pricing
Cost depends on chimney size, number of flues, and material choice; upfront quotes provided after inspection.