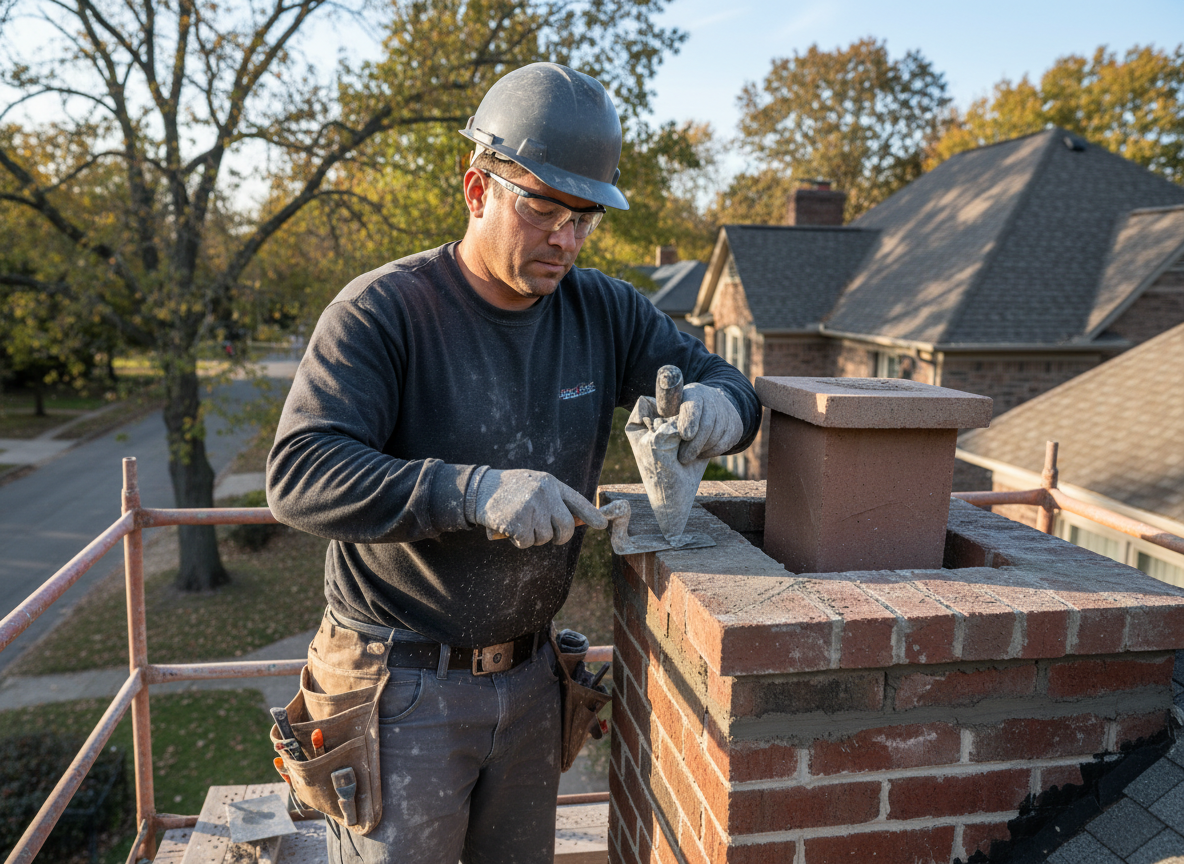
Centerville sits in Montgomery County where winters bring repeated freeze-thaw cycles that break down the lime mortar in chimneys built from the 1950s through the 1980s. Tuckpointing requires cutting out the failed mortar to a minimum of three-quarters of an inch, cleaning the joint, and packing new mortar that matches the original in both strength and color so the chimney can expand and contract without cracking the brick. Using the wrong mortar mix, such as modern Portland cement on older soft brick, creates a harder joint that forces moisture into the masonry instead of letting it escape.
Many homes in the original Centerville village and nearby streets like Normandy Lane or the area around Yankee Park have chimneys that penetrate steep rooflines or sit against second-story additions. These details make staging and joint access more difficult and increase the chance that water will pond at the flashing if the new mortar is not tooled correctly. Proper tuckpointing also means checking the crown and cap at the same time, since cracked crowns let rain run straight down the flue and saturate the new joints before they cure.
Homeowners sometimes attempt to smear new mortar over old joints without raking them out first. That surface patch fails within one or two winters and traps moisture behind it, accelerating spalling of the brick faces. We always rake to sound mortar, dampen the joint, and keep the work protected from direct sun or freezing temperatures for at least forty-eight hours so the mortar cures evenly.
Seasonal Timing for Tuckpointing
Tuckpointing in Centerville works best between late spring and early fall when daytime temperatures stay above fifty degrees for several days. Winter repairs require enclosures and heat to prevent the mortar from freezing before it sets, which adds time and cost to the job.
Technician insight
In Centerville, the thing that catches most people out with chimney tuckpointing is how the frequent freeze-thaw cycles on older split-level homes near the original village core push moisture behind the brick at the roof intersection if the mortar isn't raked deep enough before repointing.
Tuckpointing a 1965 Brick Chimney Off Feedwire Road
Water stains appeared on the ceiling after a January thaw. Inspection showed eroded mortar and a hairline crack at the crown letting meltwater run down the flue. We raked the joints on three sides, matched the original buff mortar, and rebuilt the crown cap. No further staining occurred the following winter.
How it works
- 1
Site Inspection
We examine every joint from the roofline to the crown, note water stains, and check flue condition.
- 2
Mortar Removal
Old mortar is cut out to sound material using hand tools to avoid damaging the brick edges.
- 3
Joint Cleaning and Dampening
Joints are brushed clean and lightly dampened so the new mortar bonds without drying too fast.
- 4
New Mortar Installation
Compatible mortar is packed in layers and tooled to match the existing profile and color.
- 5
Curing and Final Check
Work is protected while the mortar cures, then inspected for full joint fill and weather tightness.
Pricing
Pricing varies with chimney height, number of sides accessible, and how much mortar must be removed; we provide an upfront quote after inspection.